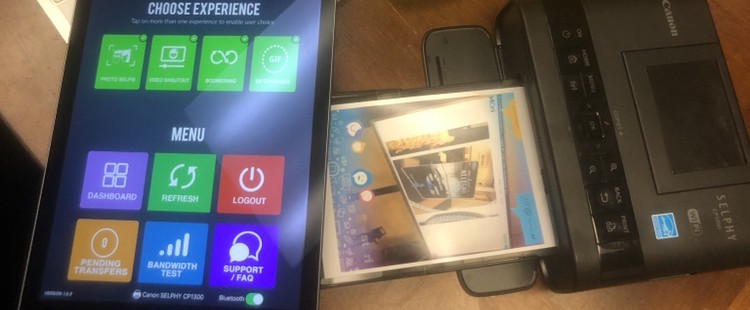
Stori booth app is compatible with any printer that is connected to the same WiFi network as your StoriCam iPad. Yup! We use and recommend the Canon SELPHY printer. This printer is lightweight, reliable and affordable. Check out a review from Camera Labs.
You should expect to connect both devices to the same WiFi, choose your printer on the iPad and use it! You will be able to use all the features on the app and the pictures will print in the order they were accepted.

Prep work –
- Login to your account.
- Select the event you want printing for.
- Navigate to the setting menu of the selected event.
- Check the box to ensure “Print Option Enabled” and SAVE!
Onsite Set up –


- Connect the printer to power source and power on.
- Connect the printer to the WiFi you will be using. Watch video on how to connect SELPHY to WiFi.
- Connect your iPad to the same WiFi network as the printer.
- Open the Stori booth app on your iPad.
- Login to your account and navigate to the app settings dashboard.
- Tap Select Printer at the bottom of the dashboard.
- Tap and connect the printer you want to print from.
- Exit dashboard after connected.
- Take a photo and choose the print button before emailing the picture.
- Take another!